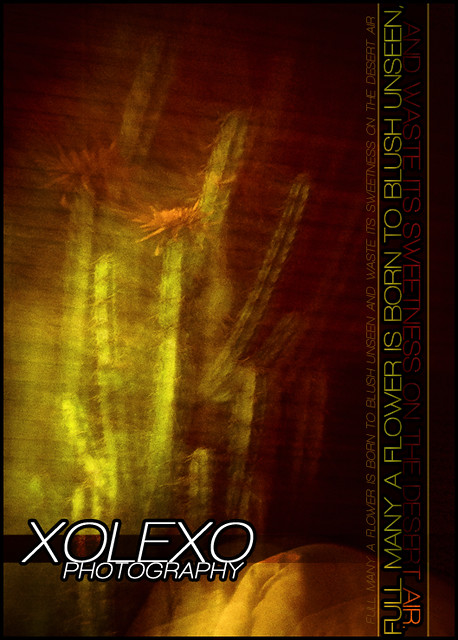
Today's challenge was to go abstract, so out of pure laziness, I decided not to leave my seat. I turned around and, with my 200mm lens, zoom panned on a fake cactus in my dining room. For some reason, this is what happened instead of the typical zoom effect. Guess my shutter speed was too low. Either way, I rather like it. -shrug-
Saturday, February 5, 2011
Friday, February 4, 2011
Feeling Outdoorsy
Since I'm feeling outdoorsy (hence the title ;D), I thought I would share with you my favorite photo of the thousands (possibly millions!) that I've taken in the past year. Technically, it's sub-par, but I am still very proud of it. It's my number one portfolio piece thus far. I'd really appreciate any feedback -- positive or negative, of course! I love learning and improving -- you all would give me about it.
As for today, I took a few more photos on my back porch, but this time I gave them the attention they deserved. Hopefully you'll like them, but if not, you can tell me that too. :-) I just wanted to go outside. It was so nice and bright.
As for today, I took a few more photos on my back porch, but this time I gave them the attention they deserved. Hopefully you'll like them, but if not, you can tell me that too. :-) I just wanted to go outside. It was so nice and bright.
 |
| Playing Ostrich |
Thursday, February 3, 2011
Poolhouse Paparazza
It started out with my noticing this...
But once I took the shot, I looked to my right and saw this...
Then, I looked to my left and saw this.
So I climbed out of the empty pool and took these.
But I'm feeling too tired to give them the edits that they deserve-- I didn't even put my stamp on them--, so you get to see them with basic crop and contrast adjustments. Goodnight!
Sharpening Tutorial
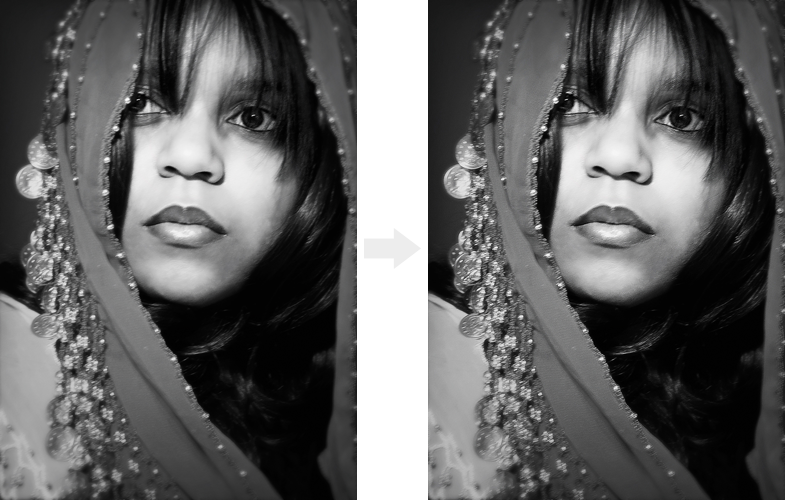
Last night I was asked, "How the hell do you get your photos so sharp?" To that, I answered that the Nikon D5000 has some awesome Shooting Mode settings, but also that two particular Photoshop tools are my best friends: Unsharp Mask and High-Pass. If you don't know what those are or how to use them, you're looking at the right post.
I've been using Photoshop since the early years of high school, and people told me to always make sharpening the last step in your post-processing. I beg to differ. There is no such thing as "always" in Photoshop. Sometimes you need to sharpen an image a bit before you get started, and other times you don't even realize that an image needs sharpening until well after you thought you were finished (as is the case here). Don't ever take things as rules. Anything you're taught is just a guideline. You make your own rules as you go, then break them as you find new things to do.
Tip #1: Making your image slightly smaller or even shrinking it to the exact size you'll need it will make the sharpening process work best.
I resized my image to 1000 px wide for this exercise.
Duplicate your background layer.
Ctrl+J, Command+J, Layer > Duplicate Layer, or right-click the background layer and click "Duplicate Layer..."
Ctrl+J, Command+J, Layer > Duplicate Layer, or right-click the background layer and click "Duplicate Layer..."
With your new Layer 1 selected, go to Filter > Sharpen > Unsharp Mask.
"Threshold" determines how many pixels you are sharpening at a time. I normally keep this at 1 so that every single pixel is getting sharpened evenly. Otherwise, you can sometimes get inconsistent and strange spots that are still blurry.
"Radius" and "Amount" will change for every photo. The radius will change the contrast in edges. The higher the radius, the bigger the dark line around edges. If you make the radius too big, you'll either make that dark line way too noticeable or make the photo far too contrasty. Start with a low number around 3 pixels and tweak it as you please. I used 3.1 px.
The amount is the most important part here. The blurrier your pic, the more sharpening you'll need. Play around with it and the radius until you find a balance that you like. I used 45. Press OK.
Tip #2: Turn the sharpened layer on and off by clicking the little eye next to it so that you can see the difference between the original image and your new image. If you feel you've sharpened too much, just lower the opacity of the sharp layer until you like it.
Change the Blend Mode of your Layer 1 to Overlay, Soft Light, or Hard Light. (Any will work.)
Double-click the layer and change the "Blend Mode", or click the drop-down menu in your LAYERS panel and change it from Normal to one of the aforementioned modes. I usually use Overlay.
Double-click the layer and change the "Blend Mode", or click the drop-down menu in your LAYERS panel and change it from Normal to one of the aforementioned modes. I usually use Overlay.
Don't worry about how it looks right now. Go to Filter > Other > High Pass.
You'll see your image change to some semblance of what it was originally, but it may be clearer now or even TOO sharp. The High-Pass filter sharpens any edges it "sees", leaving out any noise or grain that may be in the photo unless it is prominent. For this reason, it is ideal for portraits but terrible for photos taken at a high ISO. It will sharpen the grain in night-time photos because it sees grain as edges, but since portraits are typically taken with low ISOs and large apertures, grain is small enough that the High-Pass filter does not see it.
Move the Radius slider until you are satisfied and Press OK. See Tip #2.
Tip #3: Erase or mask away (see previous tutorials to learn how to use Layer Masks) parts of the sharpened layer that may get overdone if you have areas that need more sharpening than others.
For instance, I almost always get rid of some of the sharpening on skin, but not on edges. You don't want to emphasize all those pores and wrinkles!
The Other Methods
Filter > Sharpen > your choice
All of the other options are great for quick fixes. You can click Sharpen and it may be perfect, or if it's not quite enough, Undo and click Sharpen More instead. If you just want to give your edges a little bit of a boost, choose Sharpen Edges. If you don't feel ready for Unsharp Mask or High-Pass, experiment with Smart Sharpen.
The down side to these options is that you have little control over the results. Normally, I find that the Sharpen tool doesn't do nearly enough for large images and that it does way too much with small images. Sharpen Edges does nearly NOTHING for large images. It's best for small images. Sharpen More has never once been satisfactory for me personally. Admittedly, I have little experience with Smart Sharpen since it's a relatively new feature to Adobe CS.
I hope this has helped you!
Wednesday, February 2, 2011
Snow Day
Today, I took a 2-hour walk in the snow. It was a great time. I even got to meet one of my neighbors! Sad to say I've lived here for 2 years now and have only met a couple of neighbors because they made us come to a barbecue. LOL
 |
| Withered plants in front of my neighbor's house. |
Recess Over
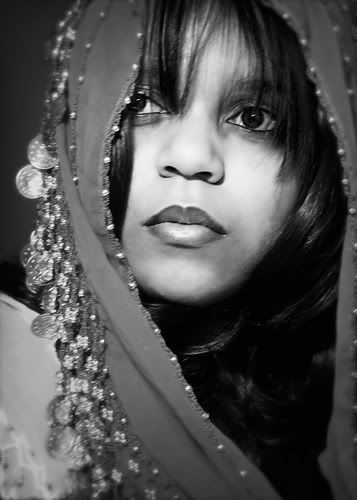
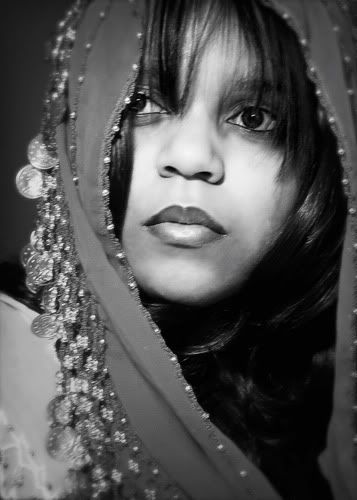
Alright, guys, I'm so sorry for being this late. I was playing! It was a cruddy day for reasons I'll explain later, and Sandra decided to let me play with some of her old photos of my beautiful best friend Khalila. It really cheered me up (thanks, Sandra!). This is a bit of what came out of it.
After regular processing, I used the same filters as my harlequin photos to give these pictures a completely different feel just for kicks.
Speaking of the harlequin photos, they show up in yesterday's shot!
 One of the first things you'll probably notice about the photo is that it's extremely contrasty. That brings me to the reason that the day was less than pleasant for me: my two rolls of 36-exposure film were damaged nearly past the point of salvation.
First, the lab ran out of fixer, then it ran out of fixer remover-- neither of which would have happened had the employee with the keys to the stock room bothered to show up for work today--, so we had to improvise when it came to chemistry.
Next, the timer in my darkroom went haywire midway through developing. Naturally, there were no more timers. Again, I had to improvise.
Then, when my film was finally done washing, I noticed that some of it was extremely gray, and other parts were almost completely clear. Come to find out there was a CRACK in my film canister. The film was getting exposed to light throughout the entire developing process.
I'm sad to say that these were not even close to the only problems I had in the darkroom today. However, I tried to make due, and now I am sure I'll be able to salvage most of my film on Thursday with any luck.
Definitely need some luck. LOL
After regular processing, I used the same filters as my harlequin photos to give these pictures a completely different feel just for kicks.
Speaking of the harlequin photos, they show up in yesterday's shot!
 |
| Taken with the Minolta x-700 |
 One of the first things you'll probably notice about the photo is that it's extremely contrasty. That brings me to the reason that the day was less than pleasant for me: my two rolls of 36-exposure film were damaged nearly past the point of salvation.
First, the lab ran out of fixer, then it ran out of fixer remover-- neither of which would have happened had the employee with the keys to the stock room bothered to show up for work today--, so we had to improvise when it came to chemistry.
Next, the timer in my darkroom went haywire midway through developing. Naturally, there were no more timers. Again, I had to improvise.
Then, when my film was finally done washing, I noticed that some of it was extremely gray, and other parts were almost completely clear. Come to find out there was a CRACK in my film canister. The film was getting exposed to light throughout the entire developing process.
I'm sad to say that these were not even close to the only problems I had in the darkroom today. However, I tried to make due, and now I am sure I'll be able to salvage most of my film on Thursday with any luck.
Definitely need some luck. LOL
 |
| This morning's quick attempt at filling the frame before class. |
Tuesday, February 1, 2011
Squealing With Joy
Today, I received a notification in the mail that my photo is a finalist in the Photographer's Forum 31st Annual Best of College Photography Contest. I have been walking on a cloud since I saw that letter.
The photo was taken this summer while I was visiting my cousins in West Virginia. They'd just been given a baby girl from an adoption agency, so we were coming to see the new addition to the family. Their adoptive son Michael was throwing a very fake tantrum on the floor in front of a patio door that let in some dramatic light, so I had to take photos. Hilariously enough, Michael stopped crying and lay still for every single shot I took. Today (1/31/11 for the record, since it's apparently after midnight now) is his 4th birthday. Now, his photograph will be published in a book that will be distributed to colleges and art instructors nationwide!
I have entered 5 (so far) of my Project 365 photographs for the magazine's current contest. Hopefully, I will have some more success come August!
On another note, I regret to inform you that there will be no photo for today YET. Again, I spent the day taking SLR photos, so you will get today's photos tomorrow after I print them. This time my digital card wasn't full, though. I just needed to finish up my two rolls of film to develop tomorrow, and they're 36-exposure rolls. Eek.
The day's challenge was repetition. I do believe I will have a photo that suits the assignment. We'll find out tomorrow! :D
End ramble.
Labels:
18-55mm,
children,
hard light,
high contrast,
memories,
Nikon D5000,
portrait,
toddler,
West Virginia
Sunday, January 30, 2011
Hard-Lit Harlequin
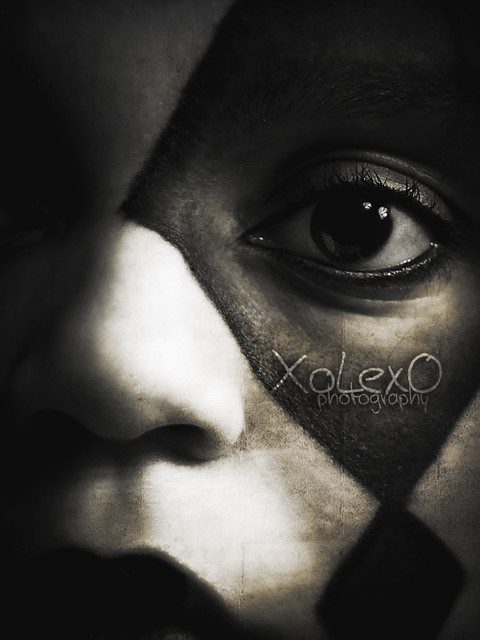
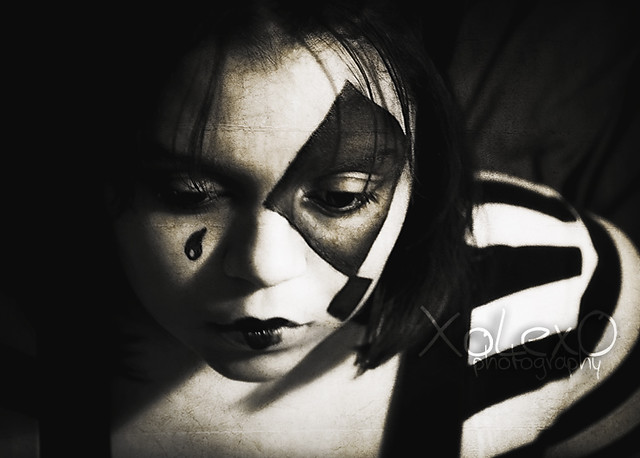
I've felt very blue today. It's been a tough one, especially with all the pain I've been in, but photography has gotten me through the day. If I wasn't taking a hot bath, I was taking photos or reading about photography. There's a silver lining for every dark cloud, right? :-)
Makeup: Black eye pencil. Textures: Wrinkled paper and warm concrete from OnOne PhotoTools software.
Labels:
18-55mm,
close-up,
flash,
hard light,
harlequin,
Nikon D5000,
portrait,
self,
stripes,
texture
Subscribe to:
Comments (Atom)

